Lesson 3: Tutorial: Resizing Images with Photoshop
1. Introduction
Welcome to Lesson 3 of our series on “Mastering Product Image Optimization for Your Shopify Store.” Today, we’ll get hands-on with Photoshop, one of the most powerful and widely used image editing tools. We will guide you through the steps to resize your images, ensuring they are perfect for your Shopify store.
2. Getting Started with Photoshop
To begin, you will need to have Adobe Photoshop installed on your computer. If you don’t already have it, you can download a free trial or purchase it from the Adobe website.
Once you have Photoshop open, you can load an image by navigating to File > Open, then select the image file you want to resize from your directories.
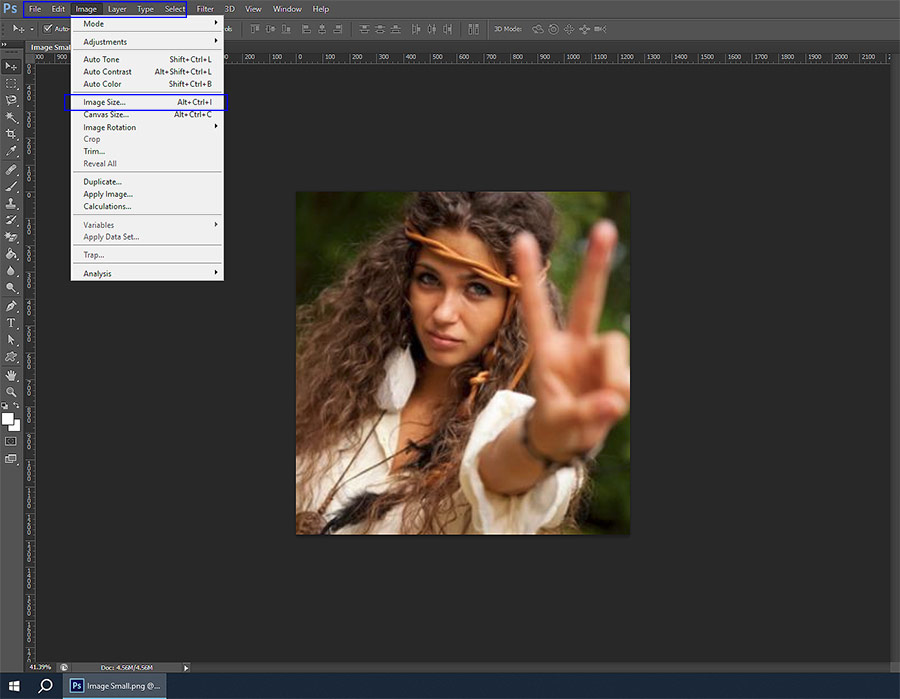
3. Understanding the Photoshop Interface
Once your image is loaded, you’ll see it displayed in the main workspace. To the left is the toolbar, where you’ll find various tools for editing your image. For this lesson, our focus will be on the Image > Image Size option located in the top menu.
4. How to Resize an Image in Photoshop
Here are the detailed steps to resize an image:
- Go to the top menu and click on
Image. - In the drop-down menu, select
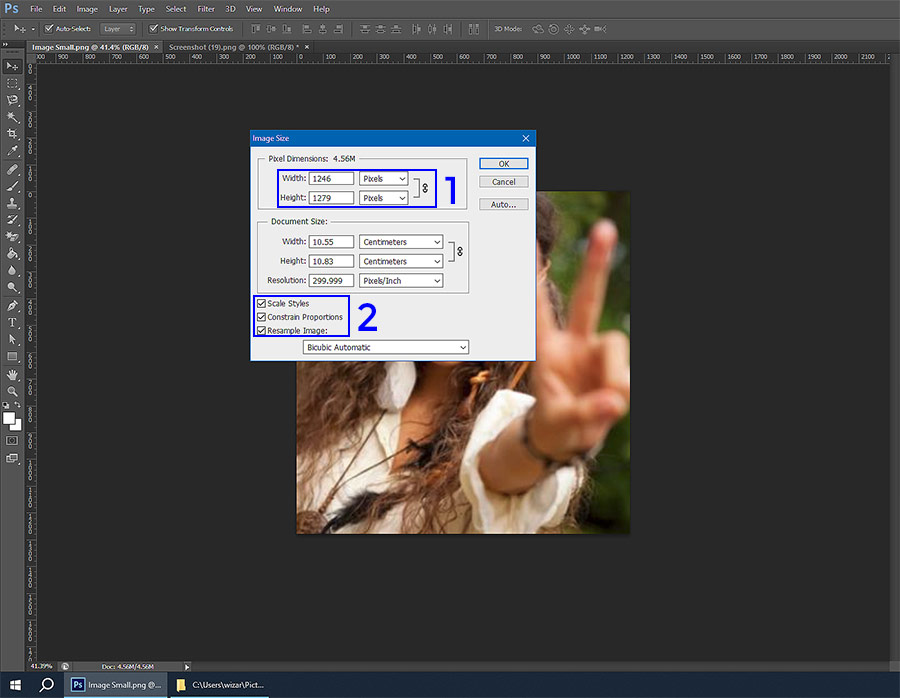
Image Size. - A dialog box will open showing the current image dimensions (width and height) in pixels. [Setting:1 in the image below]
- Enter the desired dimensions for your resized image in these fields.
For example, if you want a square image that’s 1000 x 1000 pixels, enter 1000 in both the width and height fields.
5. How to Maintain Aspect Ratio in Photoshop
To maintain the aspect ratio and prevent your image from distorting when resizing:
- Before you start resizing, make sure the link icon between the width and height fields in the
Image Sizedialog box is activated.
This ensures the aspect ratio is preserved. [Setting:2 in the image above] - As you change one value (either width or height), the other will automatically adjust to maintain the aspect ratio.
6. How to Upscale an Image in Photoshop
Photoshop also provides an option for upscaling images:
- Follow the same steps as resizing to get to the
Image Sizedialog box. - After entering the new dimensions, select
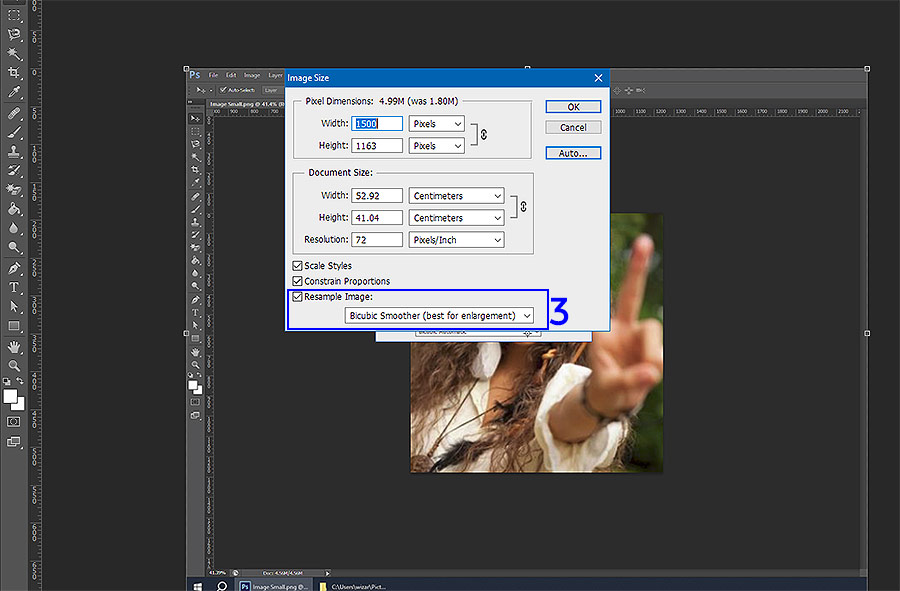
Resample. - In the drop-down list next to
Resample, selectPreserve Details (enlargement). This is Photoshop’s upscaling feature. [Setting: 3 in the image below] - Adjust the ‘Reduce Noise’ slider if necessary, which can help maintain image quality during the upscaling process.
- Click
OKto apply the changes.
7. Saving and Exporting Your Resized Image
After you have resized or upscaled your image:
- Go to
File > Save Asto save the resized image. You can choose a different name or location to avoid replacing the original image. - In the
Save Asdialog, select a suitable format like JPEG or PNG, which are widely used for web images. - Click
Save, and in the subsequent dialog, adjust quality settings if necessary, then clickOK.
8. Tips and Tricks for Resizing Images in Photoshop
Here are a few more tips to help with resizing images:
- Use the
Zoomtool orView > Zoom In/Outto check the details of your image after resizing. - For substantial upscales, do it in incremental steps for better results.
- After upscaling, you might find the
Filter > Sharpencommand useful to restore some clarity to the image.
9. Recap and Key Takeaways
Today, we’ve walked through the steps to resize and upscale an image using Adobe Photoshop. Although you may not have Photoshop most image editing software follow a similar process for resizing and resampling. If you learn the terminology here you’ll be able to resize using most image editors.
Any Questions: Ask for help in the forums and quote, “Lesson 3: Tutorial: Resizing Images with Photoshop”