
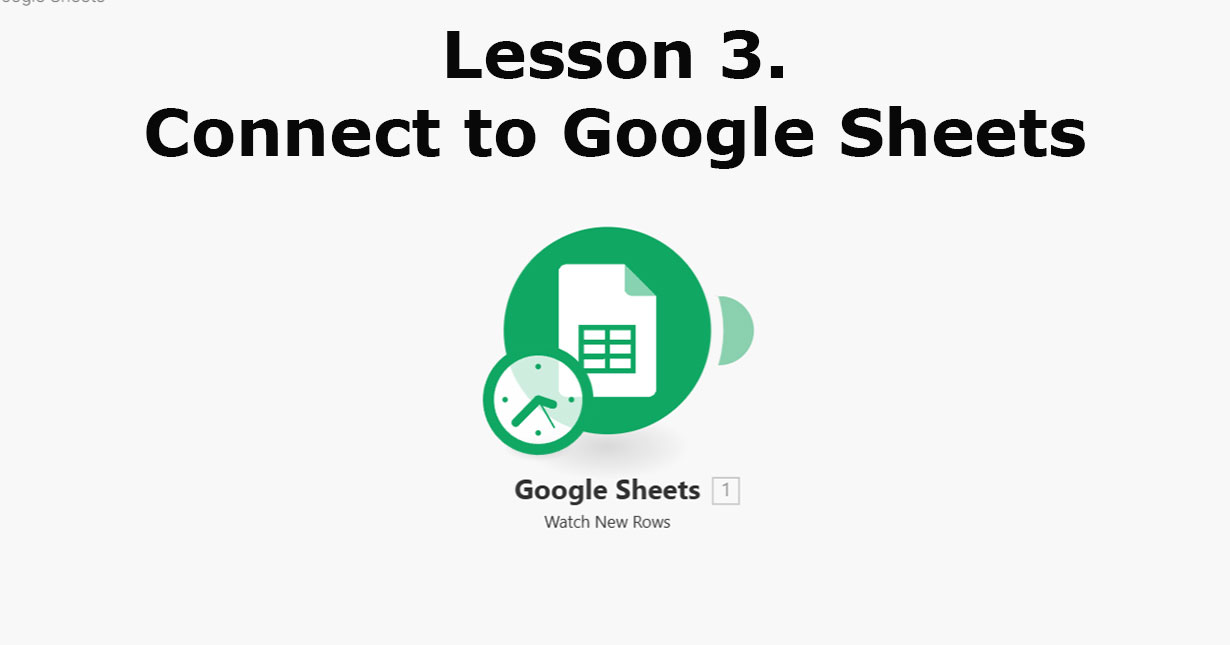
Lesson 3 – Connect To Google Sheets
Watch the video below and follow the step by step instruction.
How to Connect to Google Sheets Using Make.com
In this tutorial, we’ll guide you through the steps to connect Google Sheets to Make.com. Follow these steps to set up your connection:
Step 1: Create a New Scenario
- Log in to Make.com: Open your web browser and log in to your Make.com account.
- Navigate to Scenarios: Click on the “Scenarios” tab in the Make.com dashboard.
- Create a New Scenario: Click on the “Create new scenario” button.
Step 2: Add Google Sheets Module
- Select Google Sheets: In the list of available modules, Google Sheets is typically at the top due to its popularity. If you don’t see it immediately, use the search bar at the bottom to find “Google Sheets”.
- Choose an Action: Select “Watch for new rows” from the list of available actions.
Step 3: Set Up the Google Sheets Connection
- Create a New Connection:
- Click on “Add” to create a new connection to your Google Drive.
- Name Your Connection: Enter a name for your connection to make it identifiable.
- Choose Your Account: Select the Google account you want to connect with.
- Click “Continue” and then “Allow” to grant Make.com the necessary permissions.
- Select Your Google Sheet: Choose the file you want to connect to. For this tutorial, we’ll use a sheet named “Test Sheet One”.
- Select the Sheet Name: Ensure you select the correct sheet within your file, for example, “Sheet 1”.
- Set Additional Options:
- Has the Table Got Headers?: Confirm if your table has headers. Typically, this will be “Yes” if your first row contains column names.
- Header Range: Set the header range to A1 to Z1 if your headers are in the first row.
- Row Limit: Set the row limit to 1 if you only want to return one row at a time.
- Finalize the Connection:
- Starting Point: If you don’t have a specific starting row ID, leave this option blank to start with all rows.
- Click “OK” to complete the setup.
Step 4: Save and Continue
- Save Your Scenario: Click “OK” to save your connection and configurations.
- Add Extra Modules: From here, you can add additional modules to your scenario as needed.
Congratulations! You have successfully connected Google Sheets to Make.com.
In the next lesson, we will cover how to create an article title by connecting to ChatGPT.